Create an Organization
An Organization in Hovi Studio represents an organization or entity (e.g., a business, institution, or government agency) responsible for creating credential and verification templates, issuing credentials, and initiating verification proof requests. This guide explains how to create a new organization within your ecosystem.
Prerequisites
Before creating an organization, ensure the following:
- You are registered with the Hovi Studio.
- You have completed the onboarding process, which includes creating an ecosystem.
Steps to Create an Organization
Follow these steps to create an organization in Hovi Studio:
-
Sign in to Hovi Studio.
-
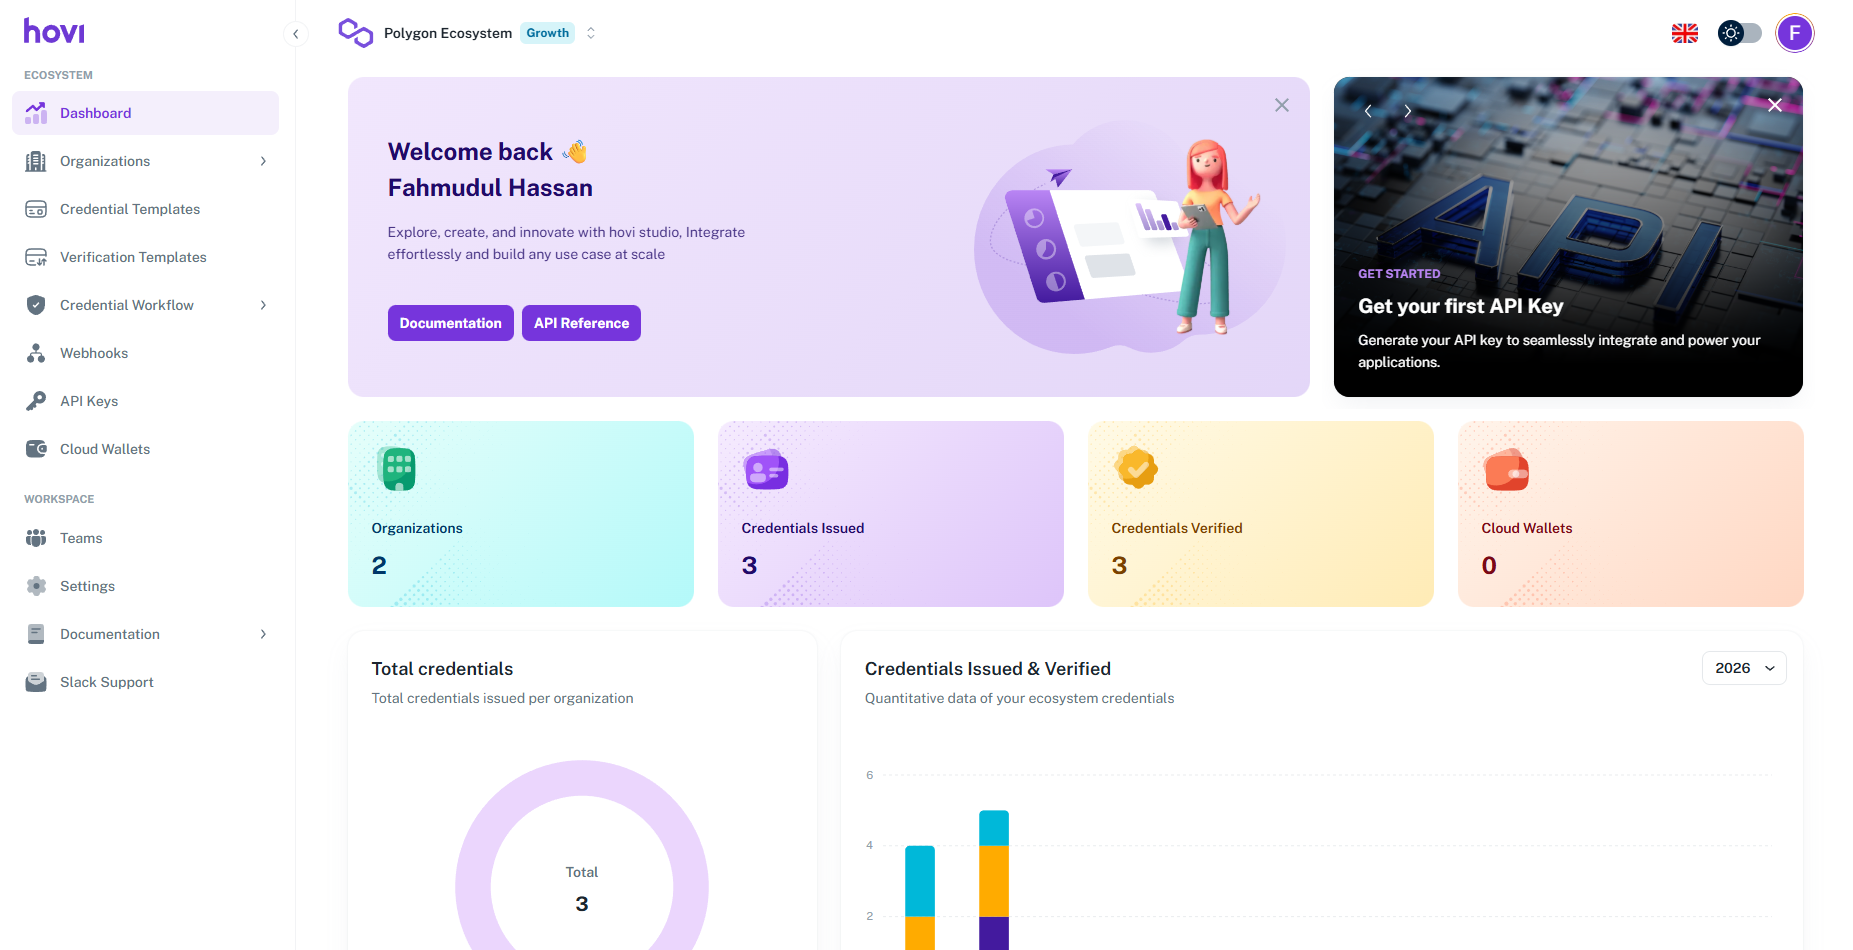
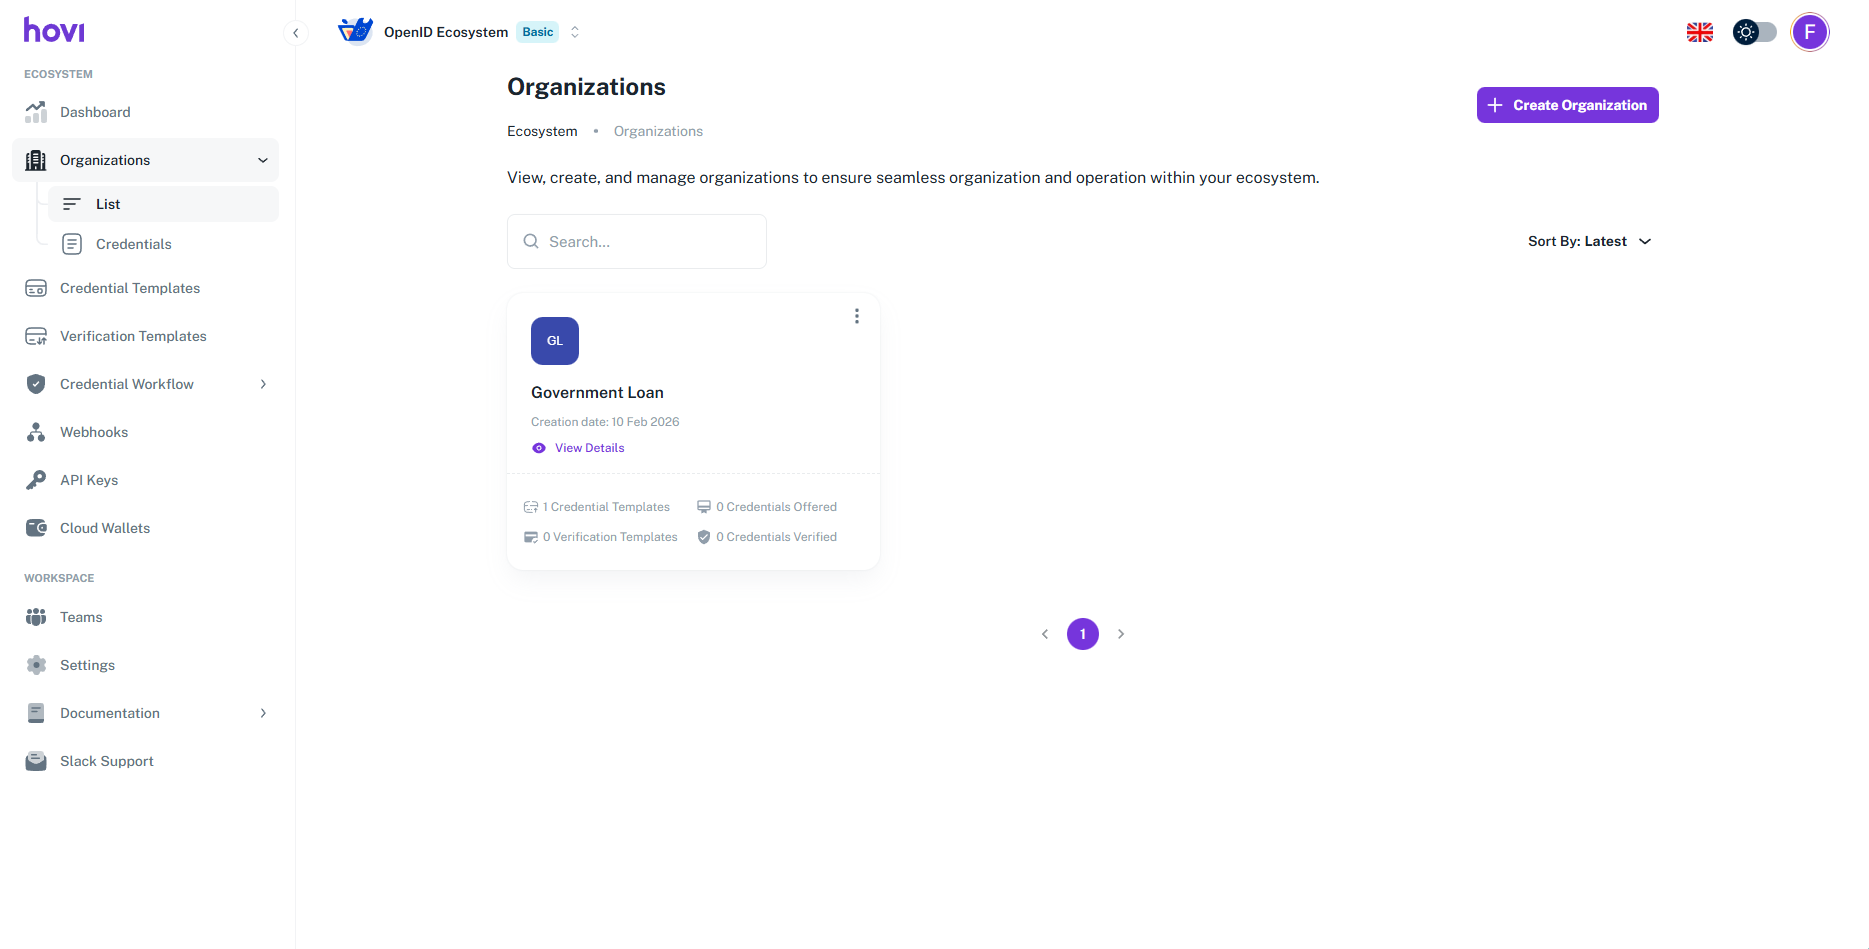
In the left-hand navigation menu, click on “Organizations.”
-
Click the “Create Organization” button at the top-right corner of the Organizations page.

-
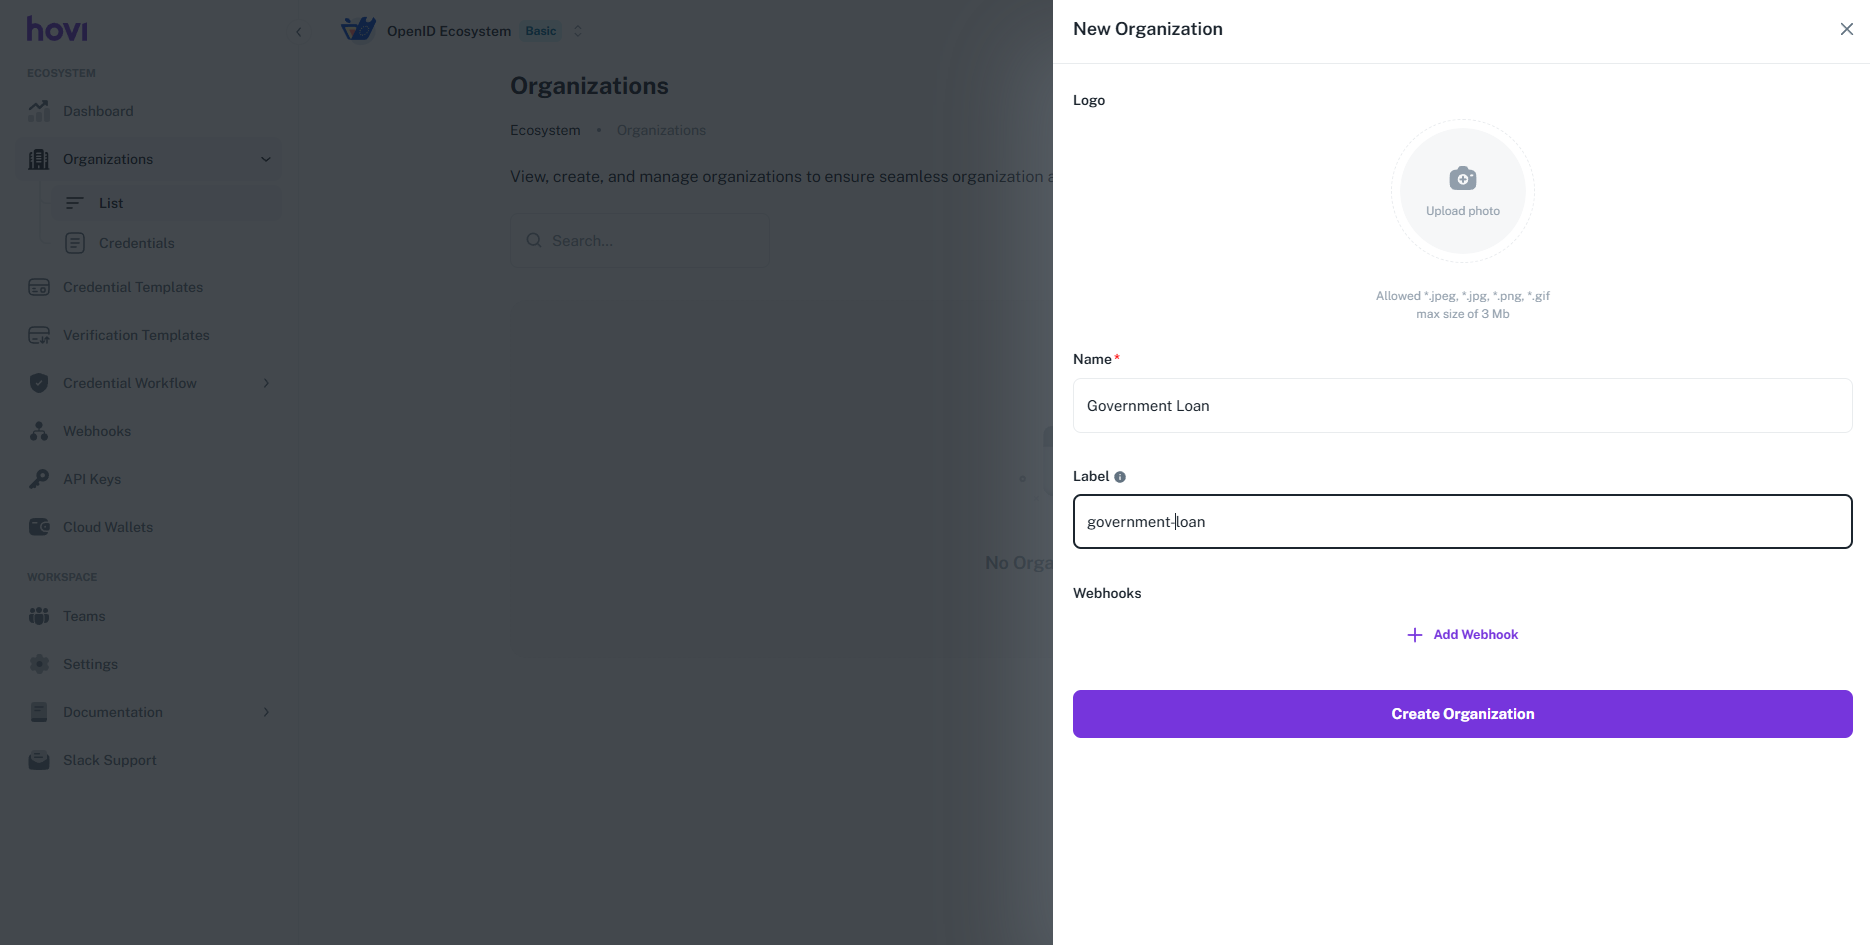
Fill in the organization details, including:
- Logo: Upload the organization's logo.
- Name: Enter the name of the organization.
- Label: Add a label to help distinguish this organization
- Webhooks(Optional): Provide a webhook URL to receive real-time notifications for credential or verification events.
-
After adding the necessary information, click “Create Organization”.
-
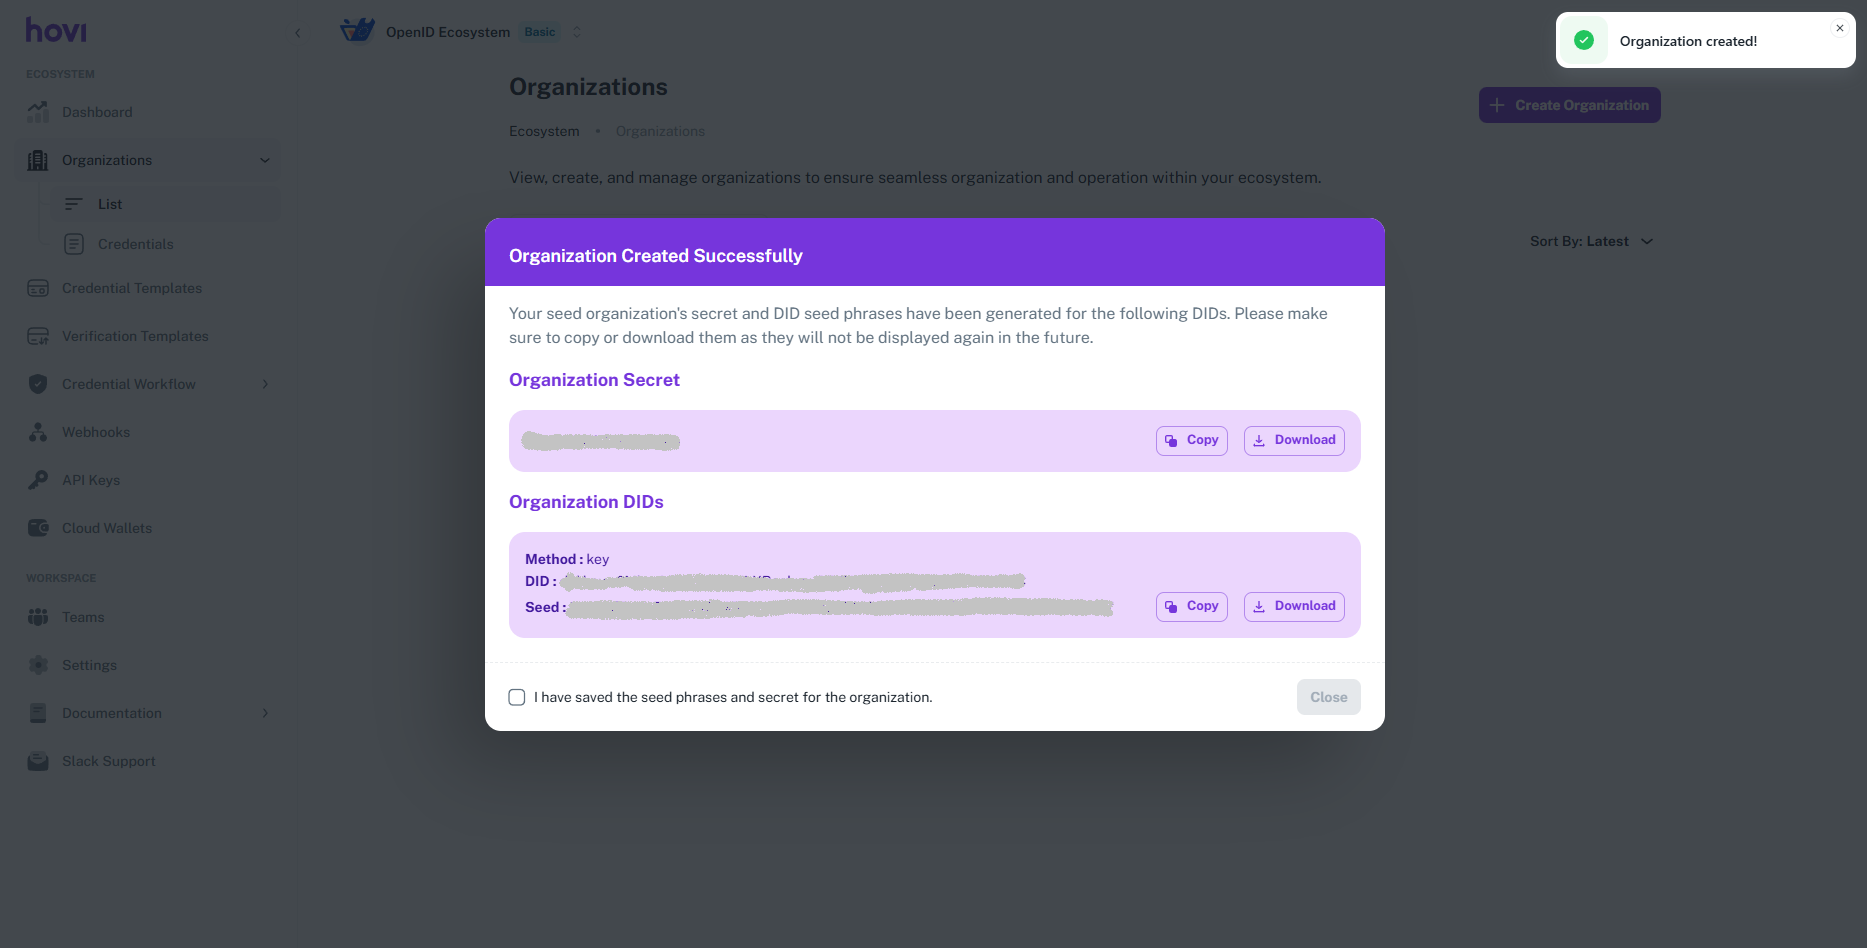
Your seed organization's secret and DID seed phrases will be generated. Please make sure to copy or download them, as they will not be displayed again.
-
After copying or downloading the seed organization's secret and DID seed phrases, checkmark “I have saved the seed phrases and secret for the organization” and click "Close".
Your new organization has been created. You can now begin issuing credentials and managing verification requests for this organization.
Manage a Organization
Here's how to manage your organizations within Hovi Studio:
-
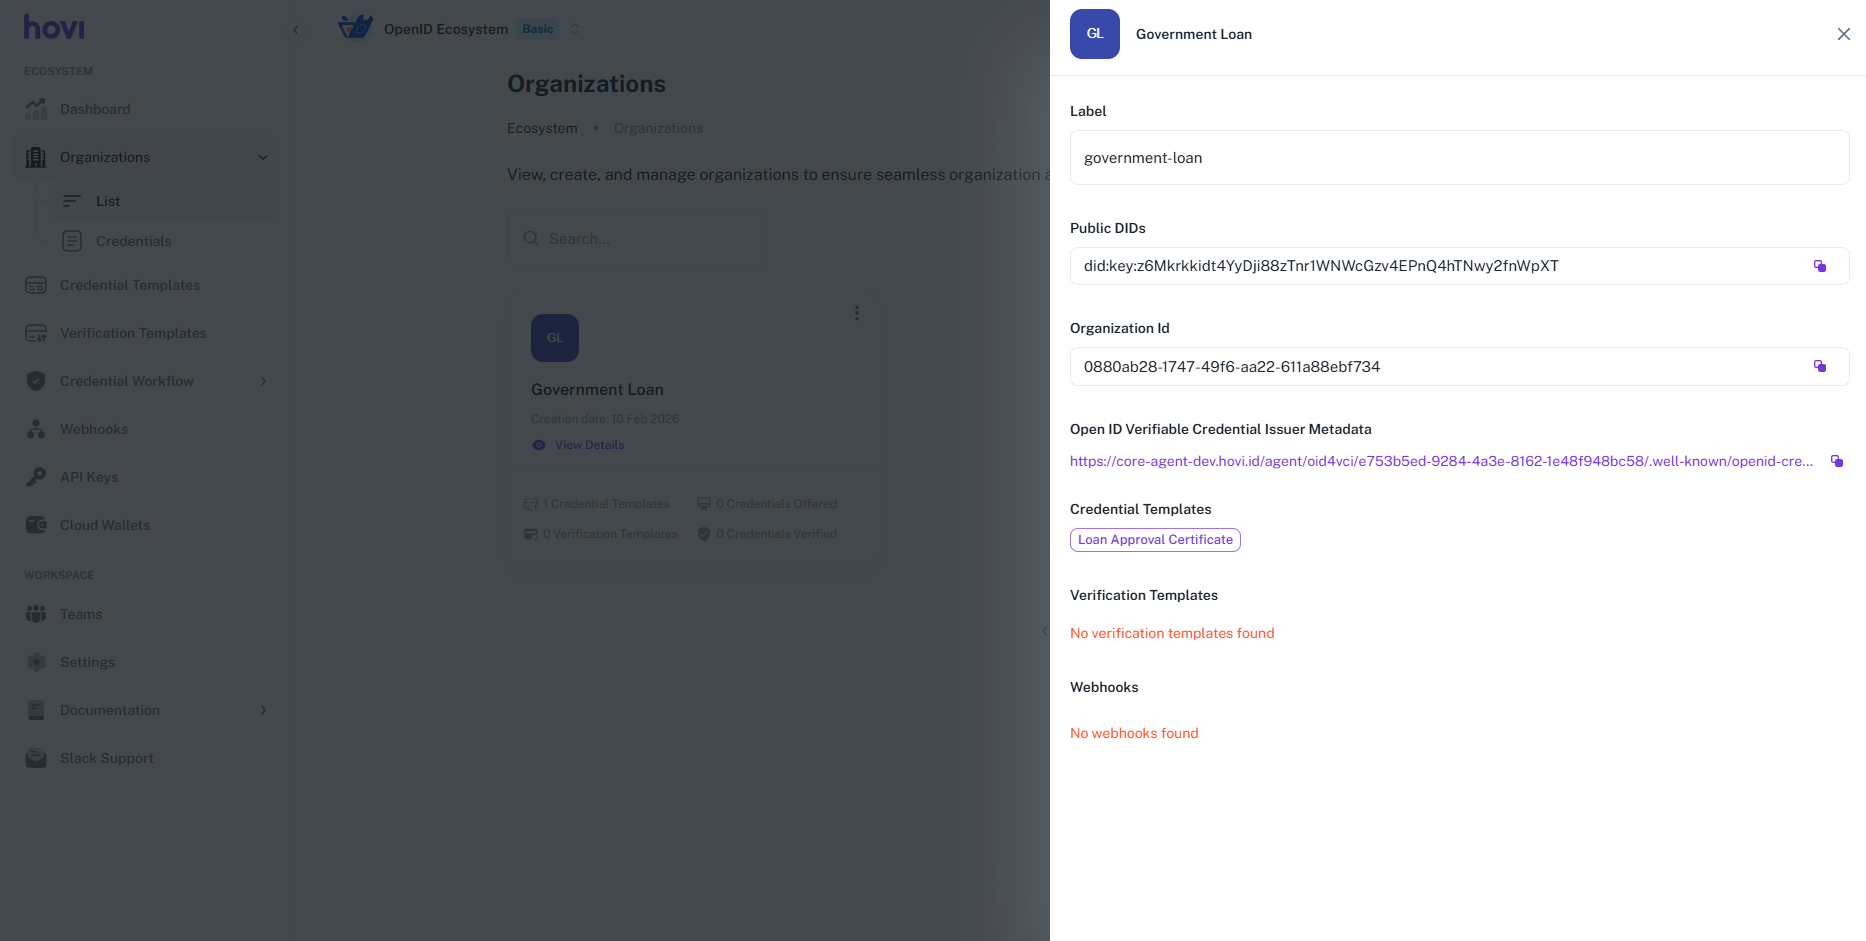
View Organization Details: To view details of an existing organization:
-
Locate the organization from the list and click “View Details” to view its details.
-
Another option is to click on the three dots within the organization card and select “View” from the dropdown.

Here’s what the details panel looks like:
-
-
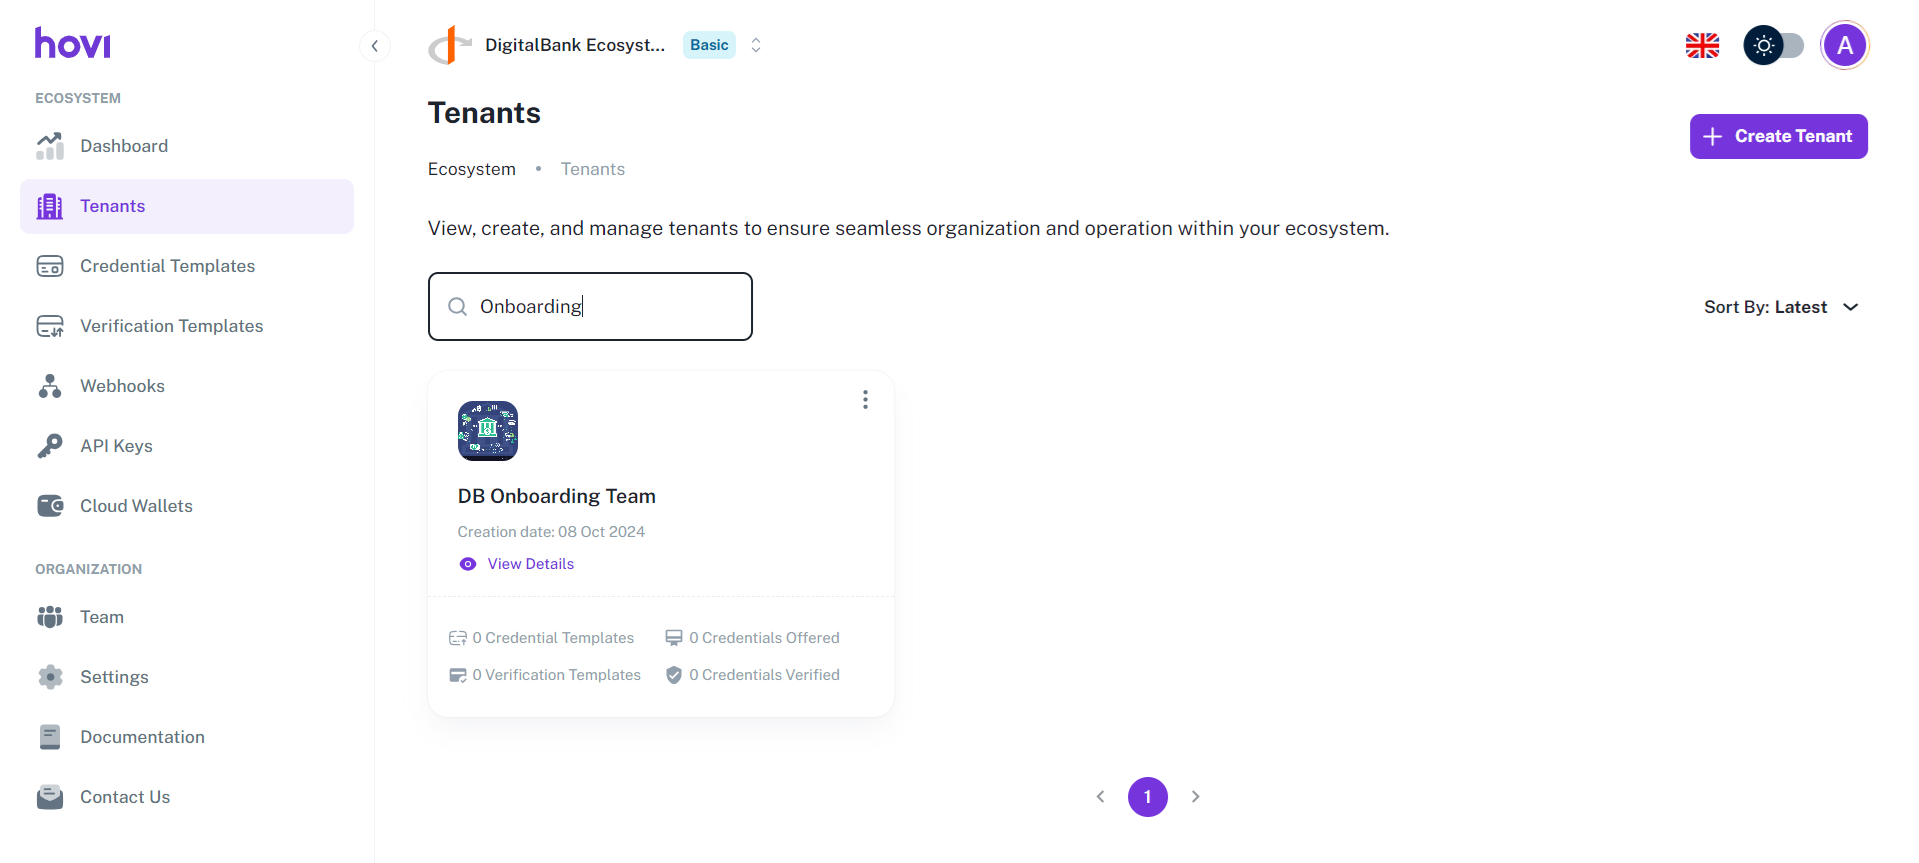
Search for a Organization: Use the search bar at the top of the organization list to enter the organization's name or relevant keywords.
-
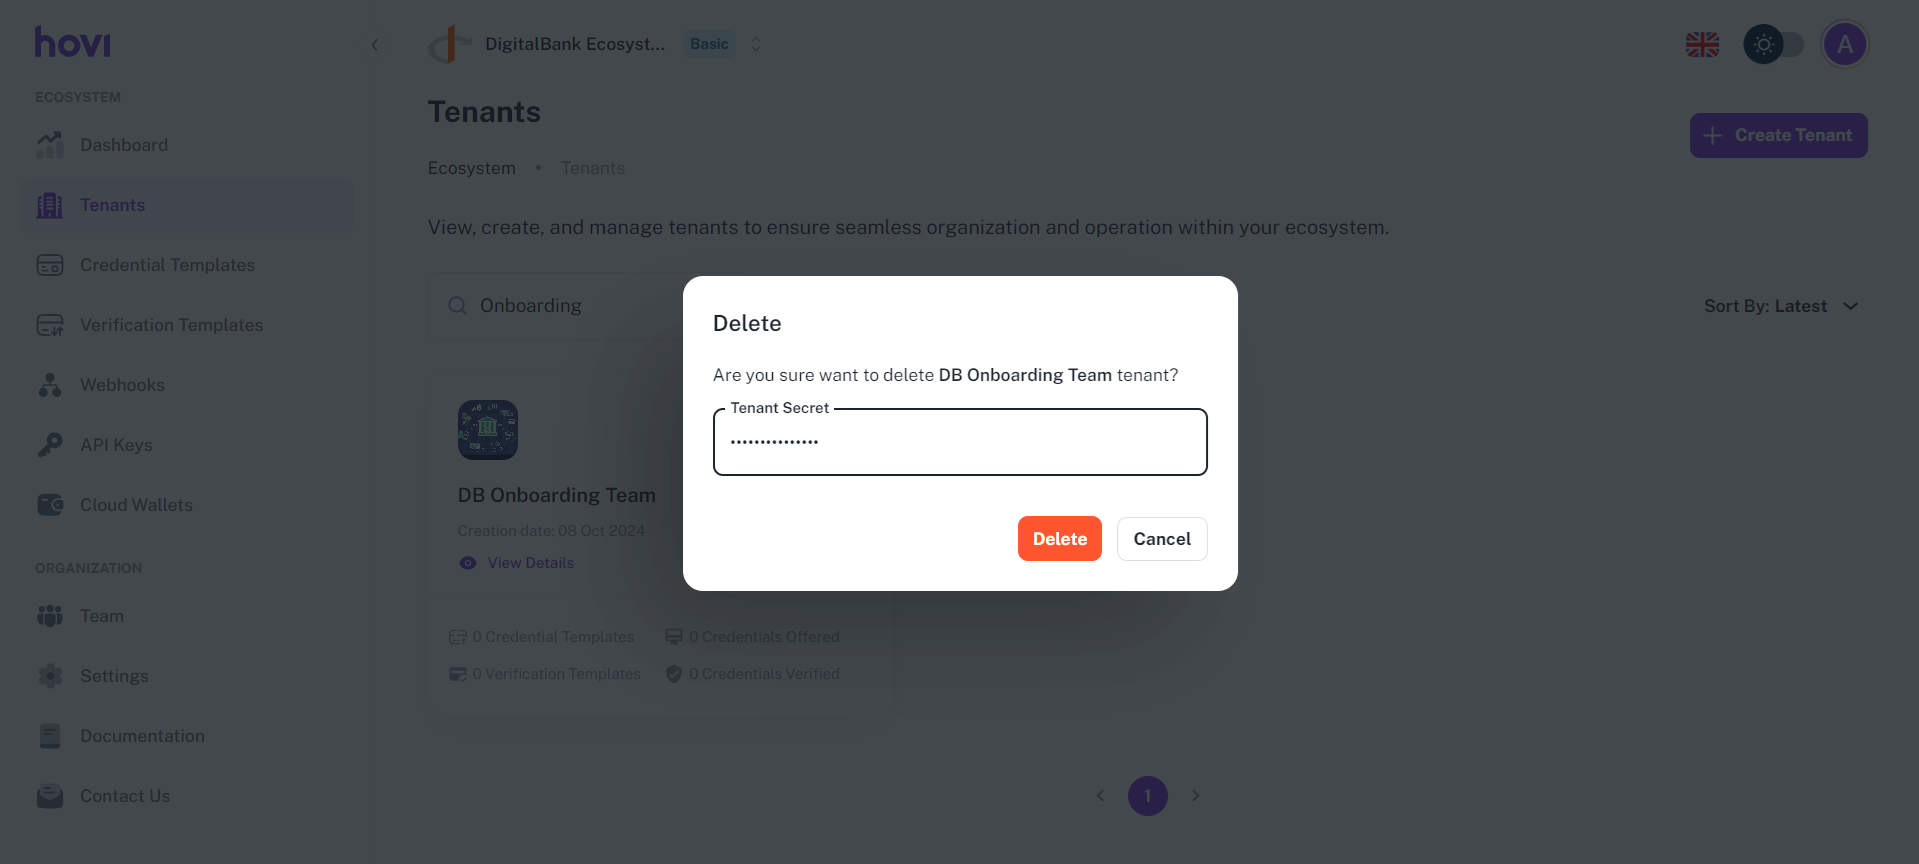
Delete a Organization: If a organization is no longer needed, you can delete it. To delete a organization:
- Locate the organization from the list, and click on the three dots.

- Select “Delete” from the dropdown.

- Enter the organization’s secret and click “Delete” to confirm the deletion.
- Locate the organization from the list, and click on the three dots.